Zebra FXR90
Accessing the web interface
To start using the FXR90, access to the user interface is required. To access the user interface, navigate to the reader using a web browser. This can be done by combining the model name and the last 3 digits of the readers mac address. For example, a FXR90 with mac address 10:12:A3:B5:FF:90 becomes: http://fxr90b5ff90.local.
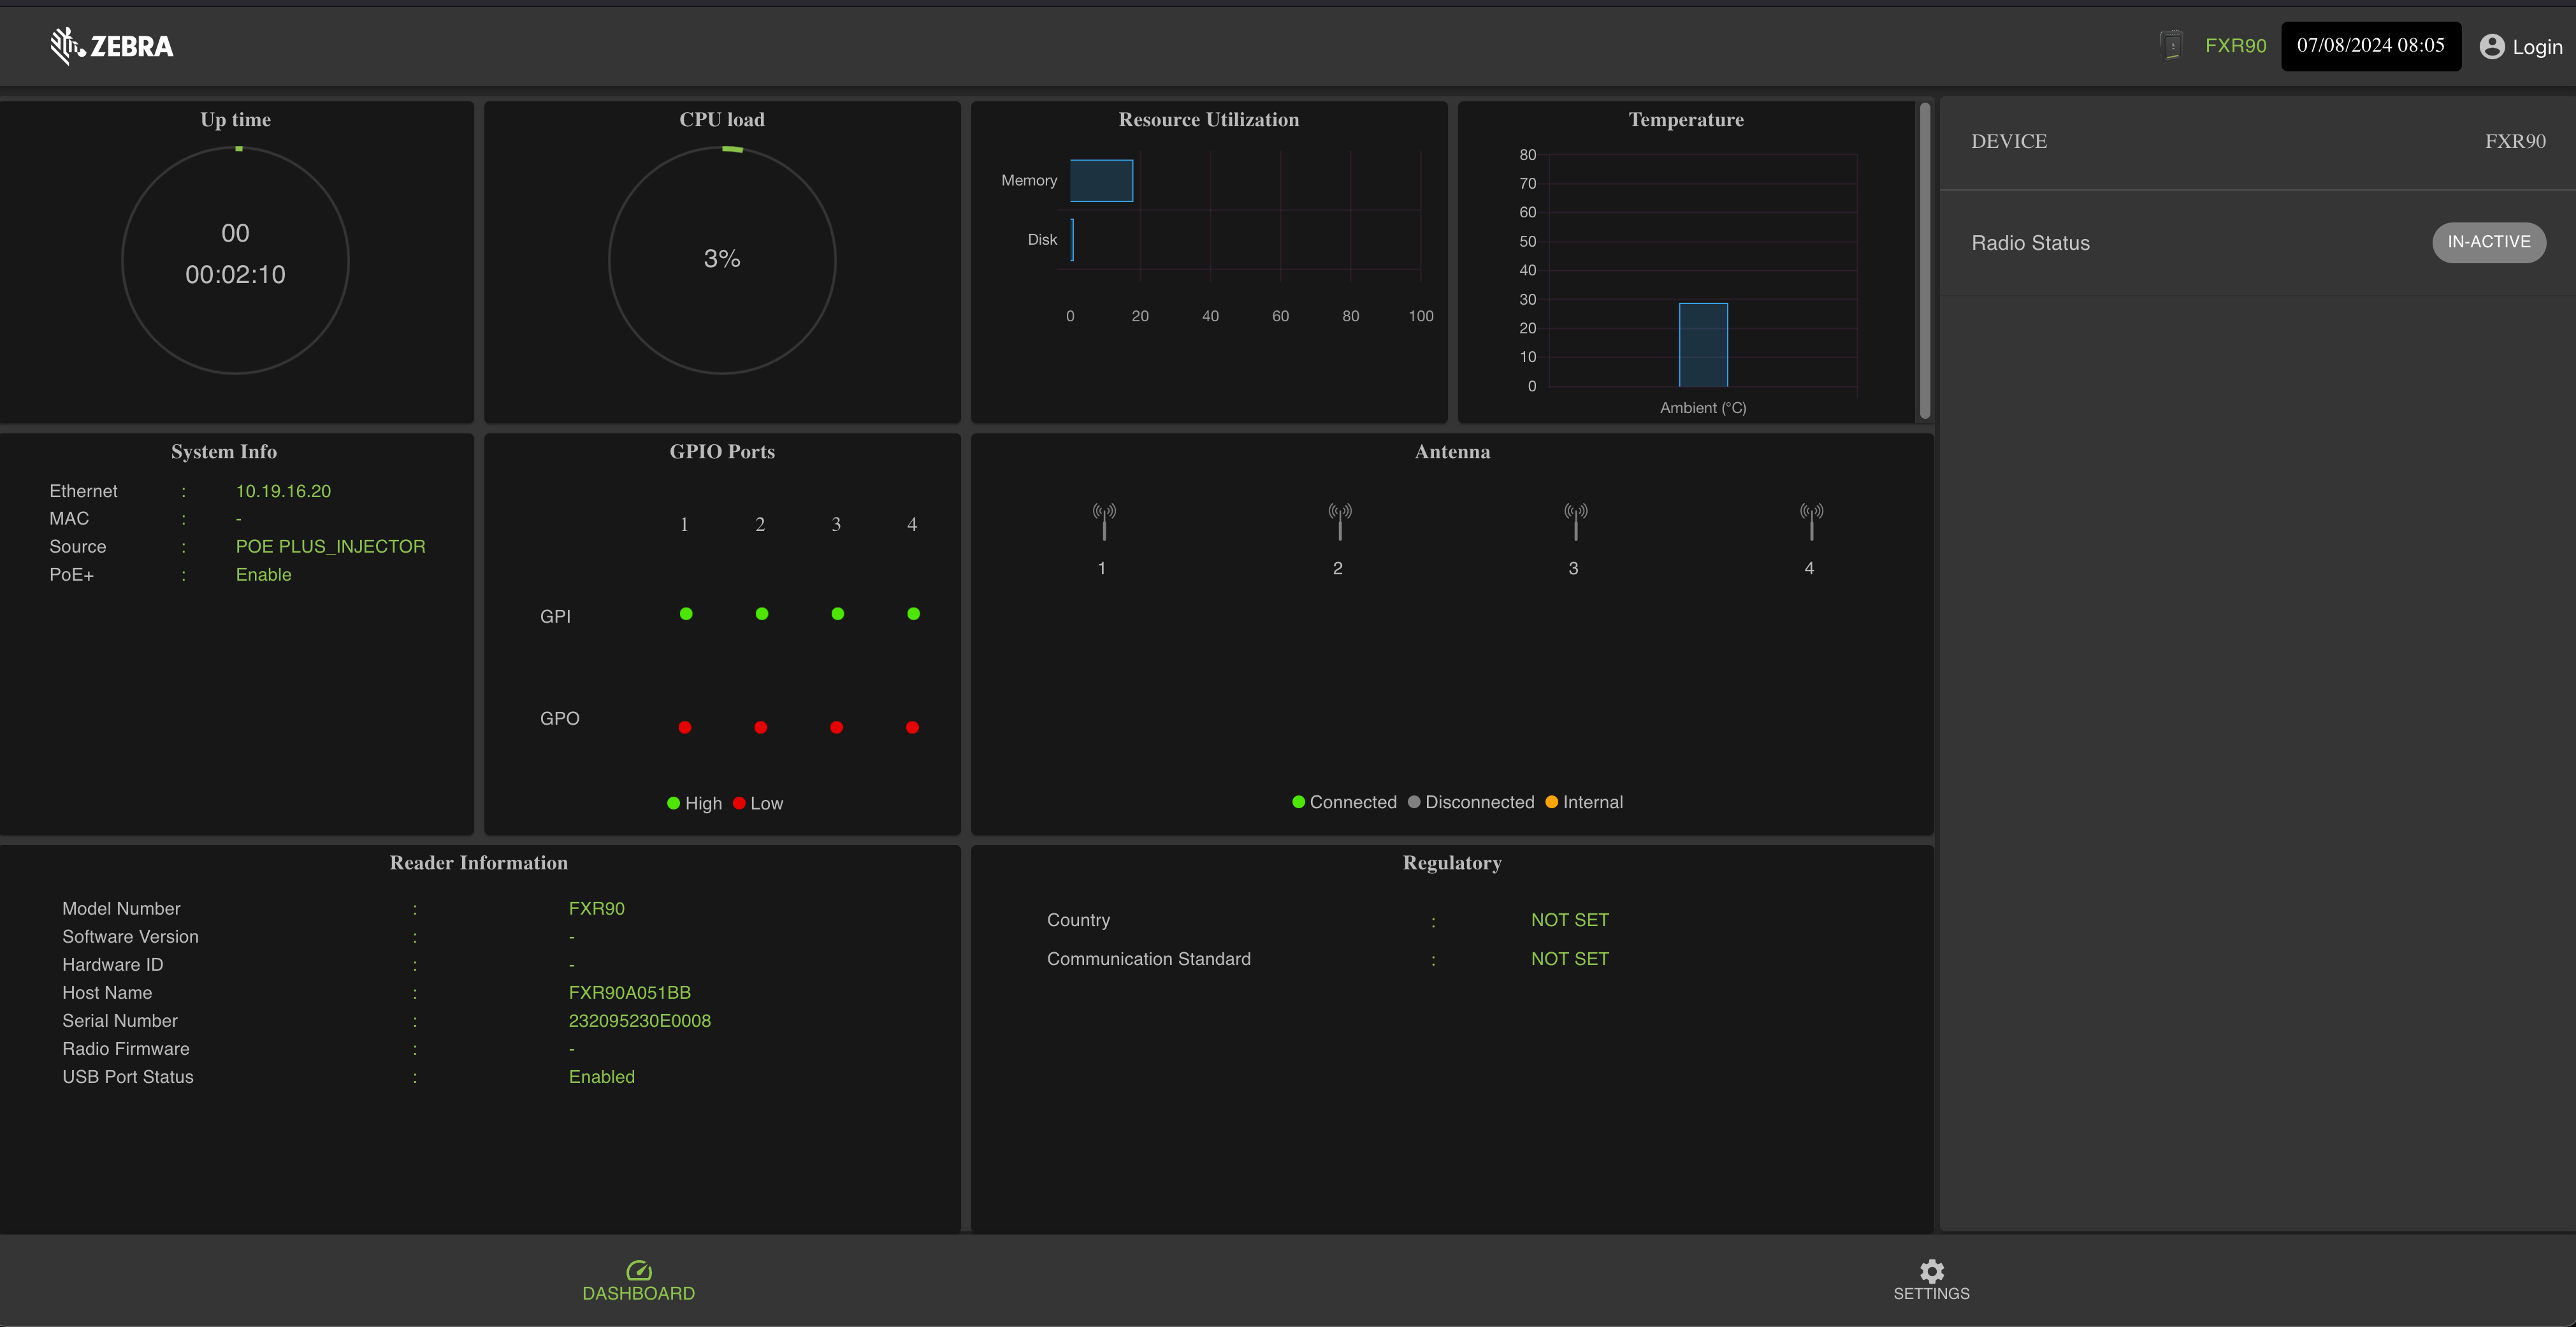
The web interface should look like this:
Logging in to the Admin account
To start the setup, it is required to log in to the reader. This can be done by pressing "Login" in the top right corner of the interface.
Default username and password
- Username:
admin- Password:
change
It is to required change the default password on upon logging in. Make sure note remember this password so the interface can be accessed in the future. After changing the password, you have to log back in.
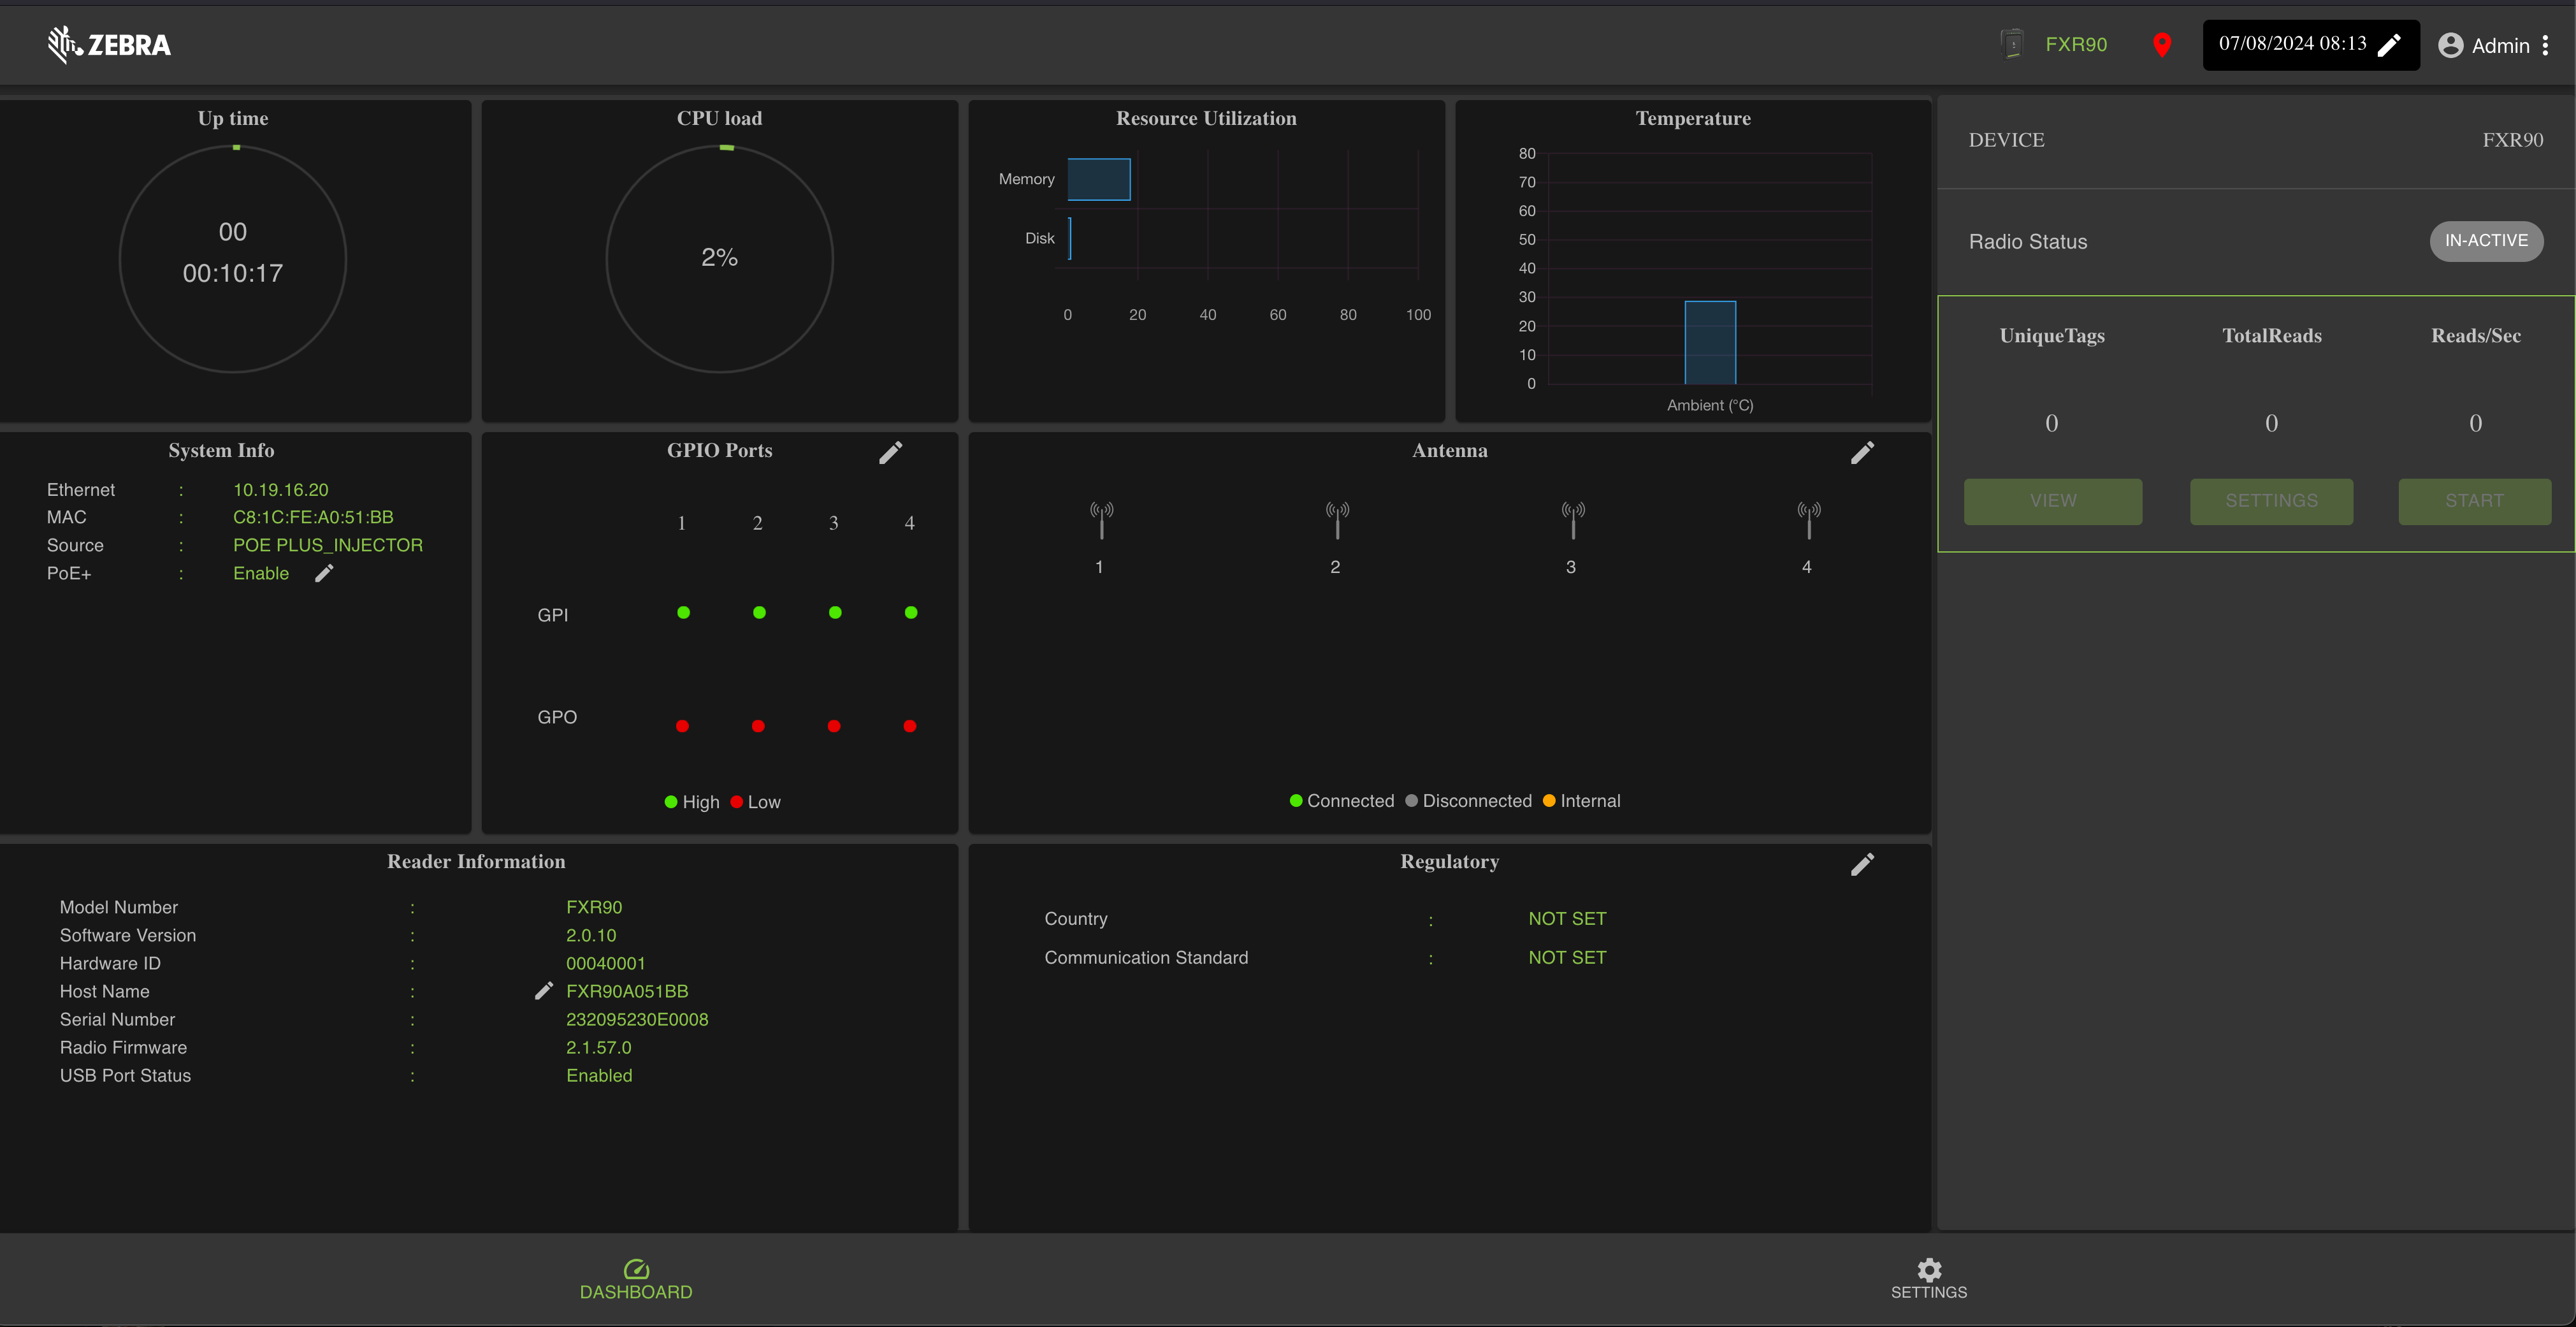
Upon logging in, it should say "admin" on the top right corner. This means that you are permitted to make changes to the reader's settings. The UI should now look like this:
Installing the latest firmware version
To run the Harmony reader application, it is recommended to install the most recent firmware version to ensure proper functioning. The latest firmware version can be downloaded from Zebra's website: https://www.zebra.com/us/en/support-downloads/rfid/rfid-readers/fxr90.html
Navigate to the settings page by pressing the "Settings" button located on the bottom right of the web interface. From here, press the "Firmware" tab to go the firmware update page:
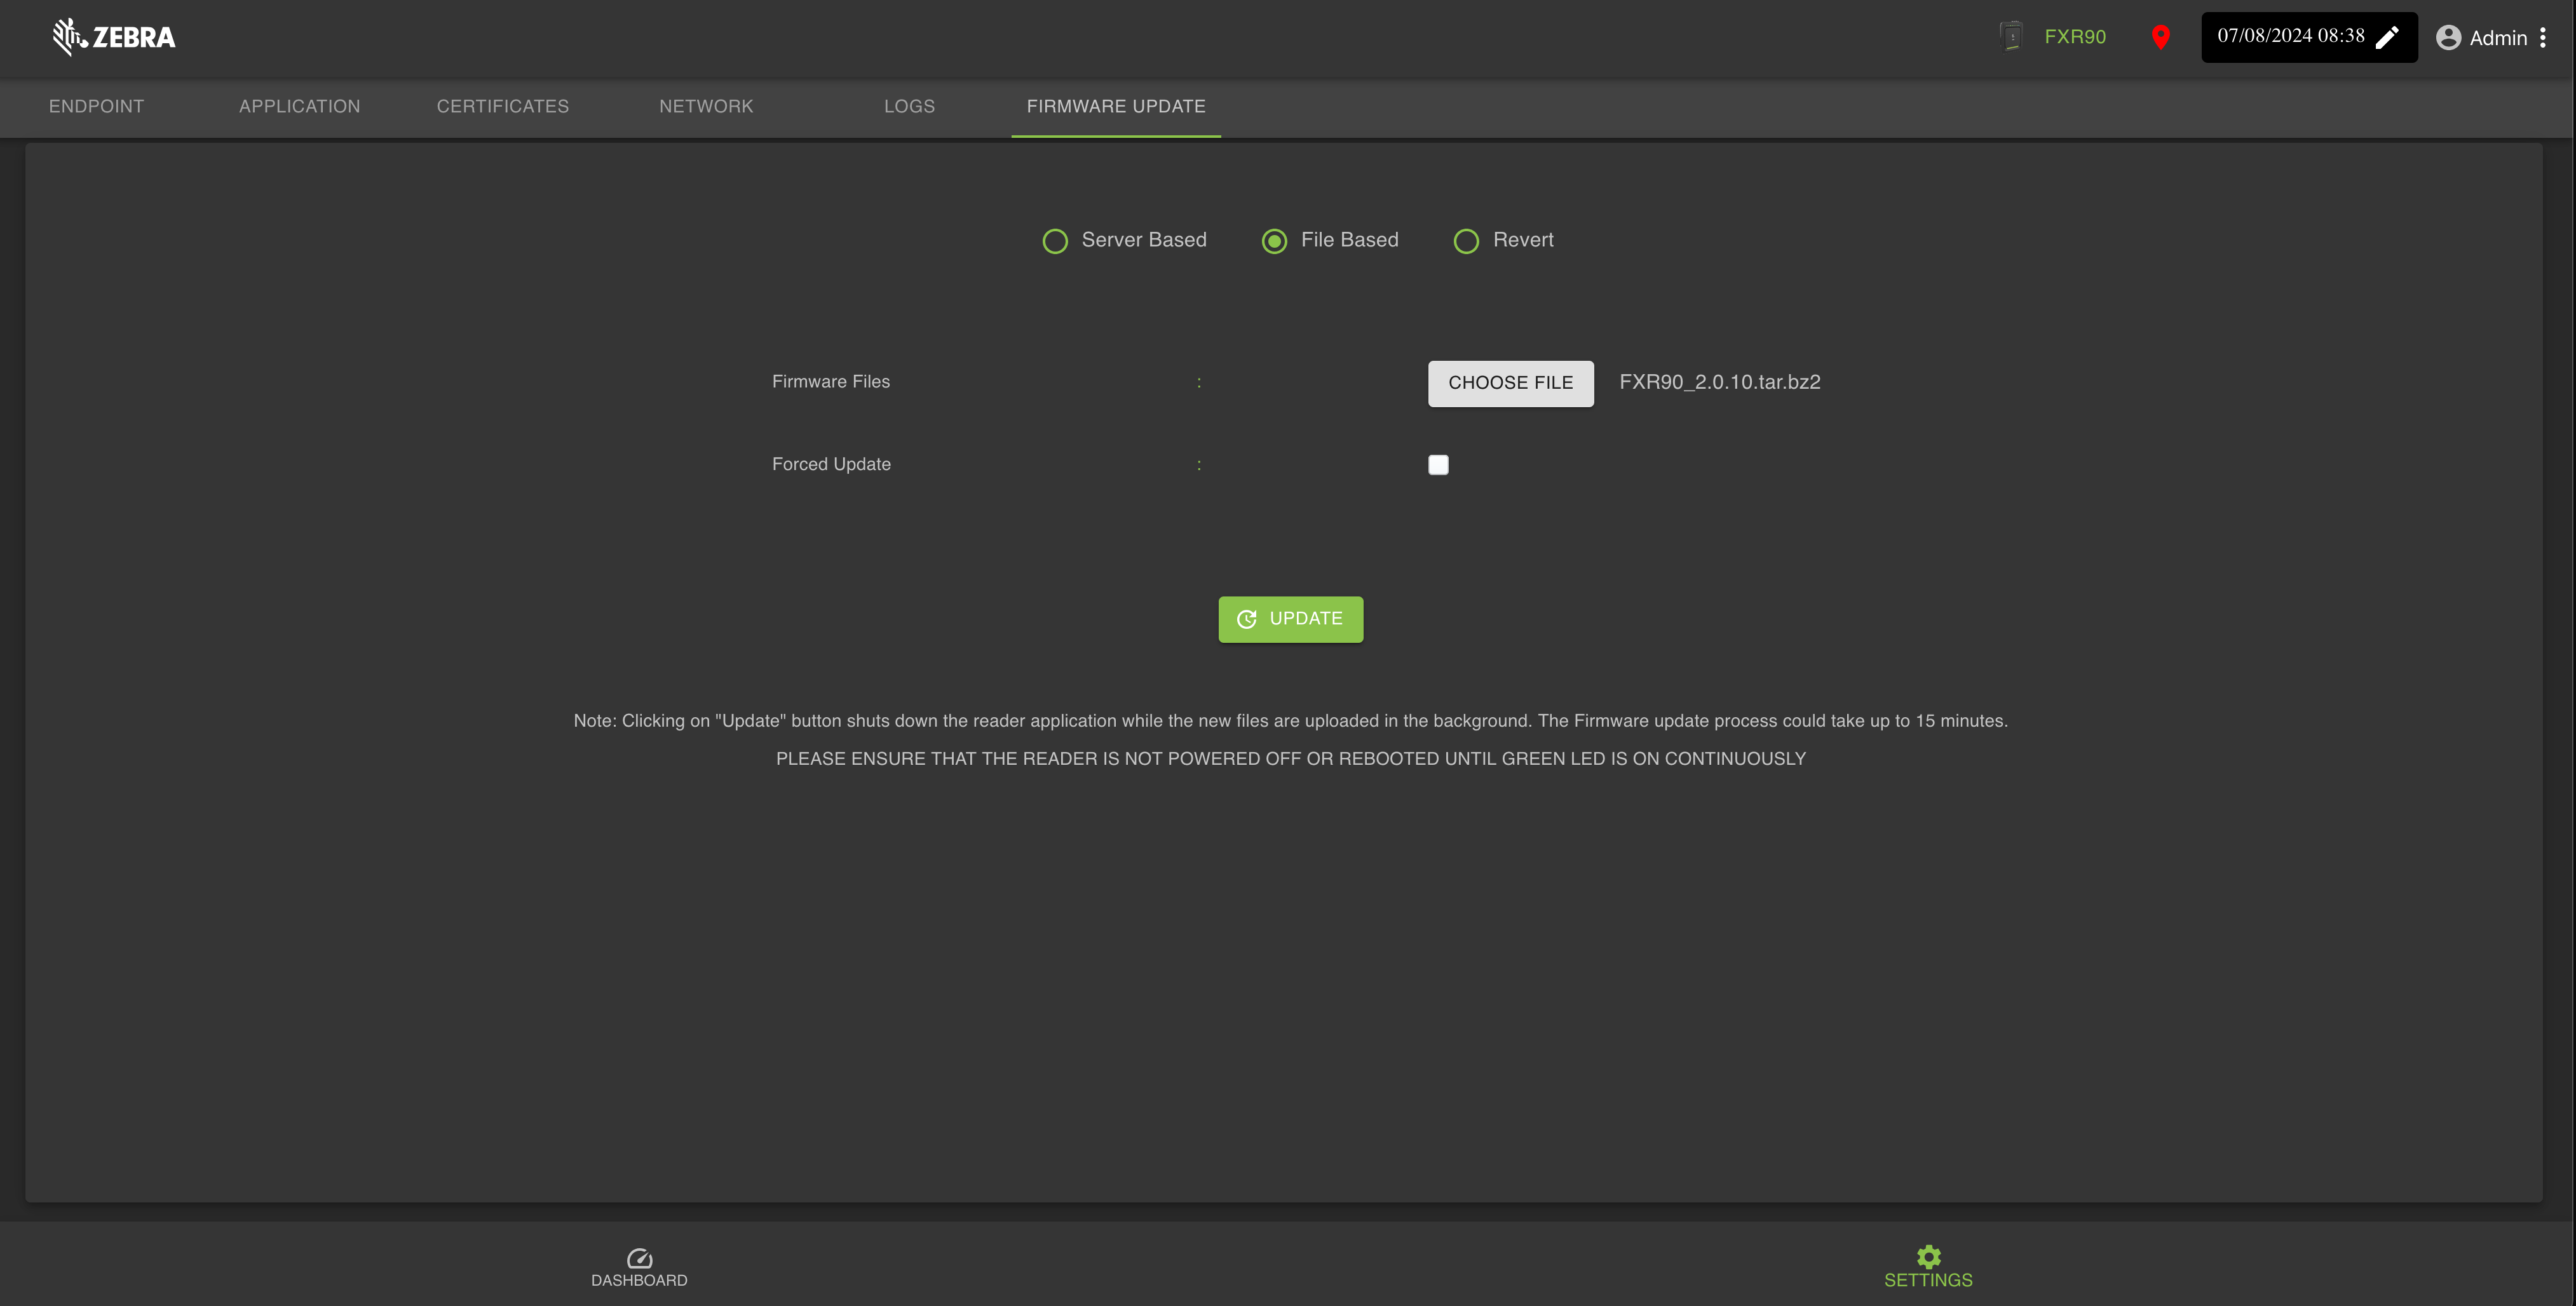
Use the "Choose File" button and upload the firmware file that was just downloaded. After uploading, press the "Update" button to install the new firmware. This should reboot the reader.
After ensuring the latest firmware version, the reader can be set up to run the Harmony application.
Setting up the reader
RFID frequency regulations
The first setting that needs to be set are the RFID regulations settings. This is important so that the reader won't transmit in a frequency band that is against the country's regulations.
To set the frequency regulations, press the pencil icon located in the "Regulatory" section of the UI. Select the country in which the reader currently resides. After that, select the desired frequency band and channels:
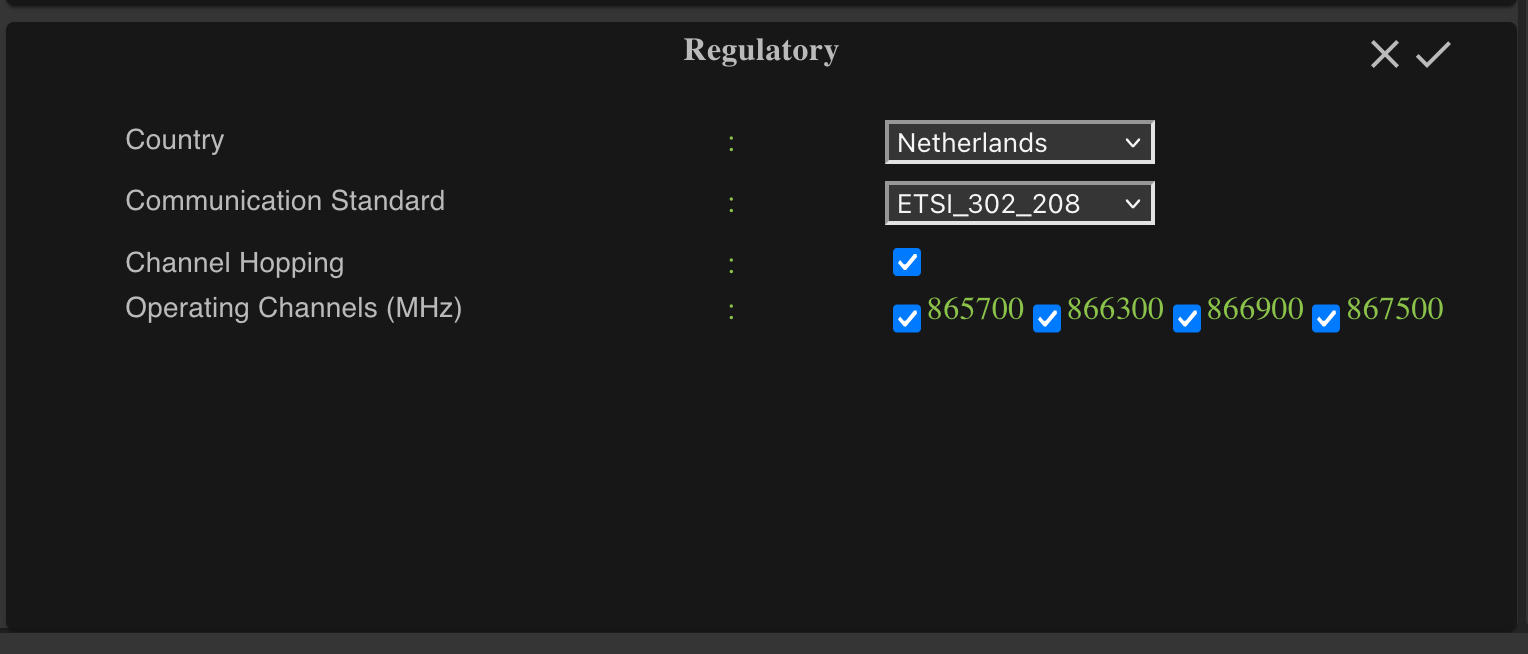
After setting all the desired regulatory settings, press the check icon to confirm and save the settings.
Installing the Harmony reader agent
To install the Harmony reader agent, download this agent from This link . The reader agent can be installed by navigation to "Settings" in the web interface. This page can be accessed by pressing the "Settings" button in the bottom right corner of the web interface.
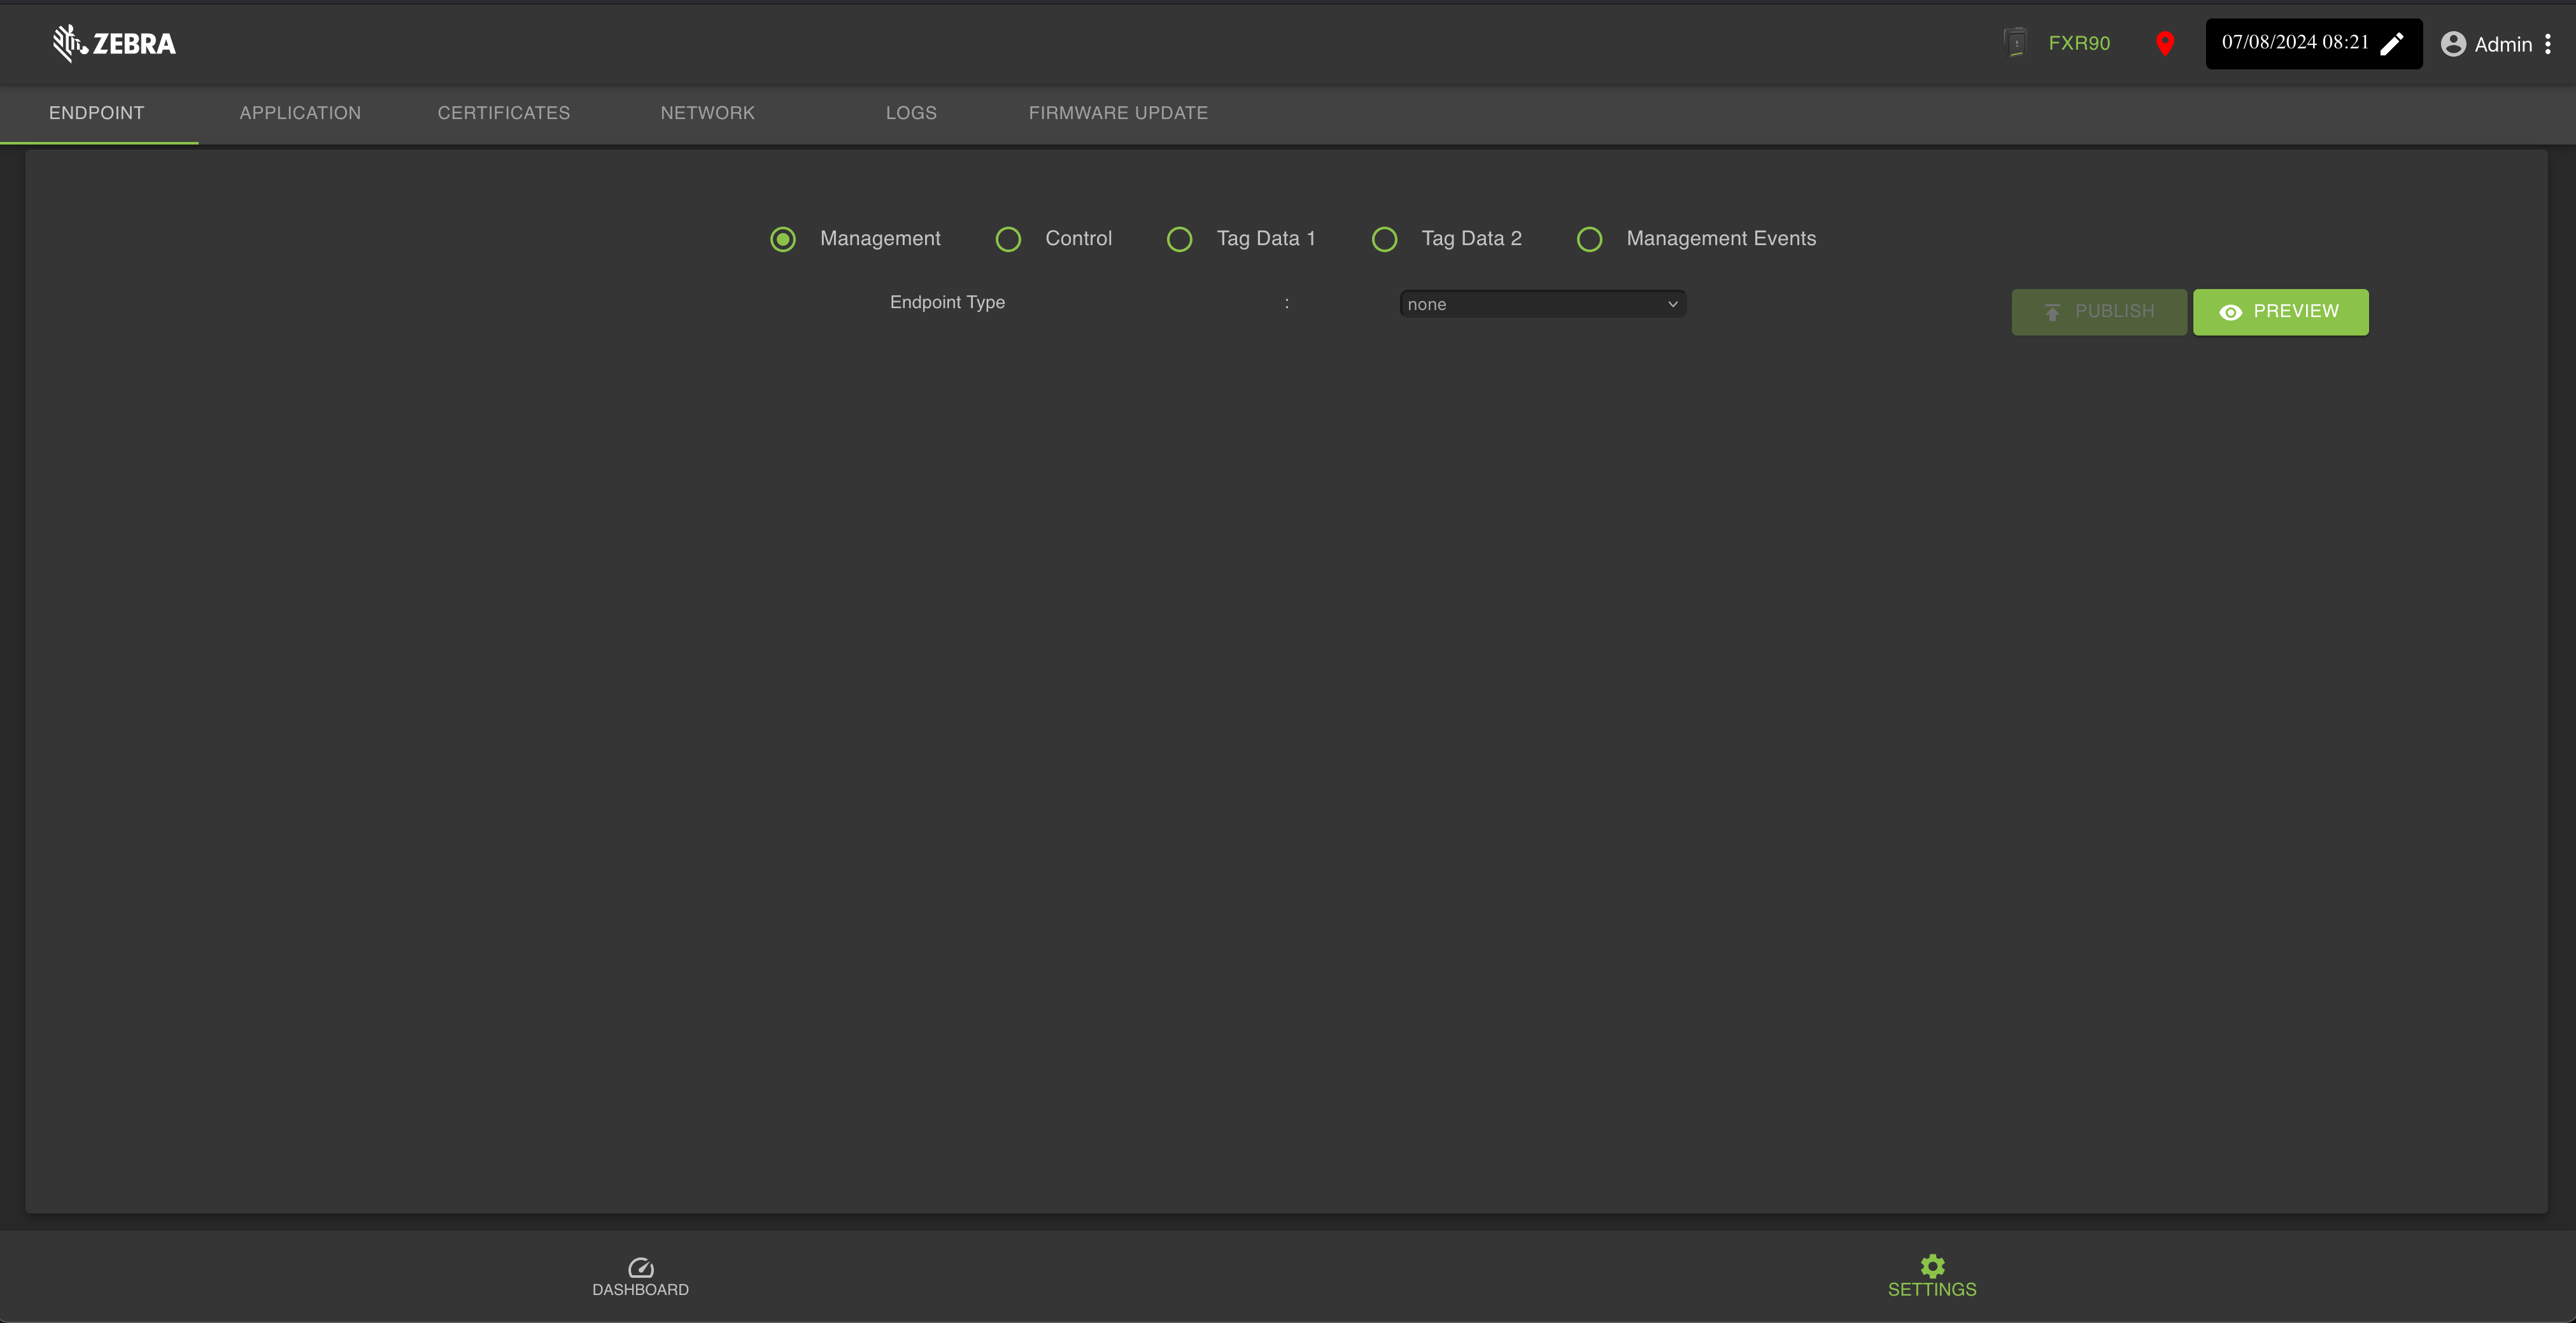
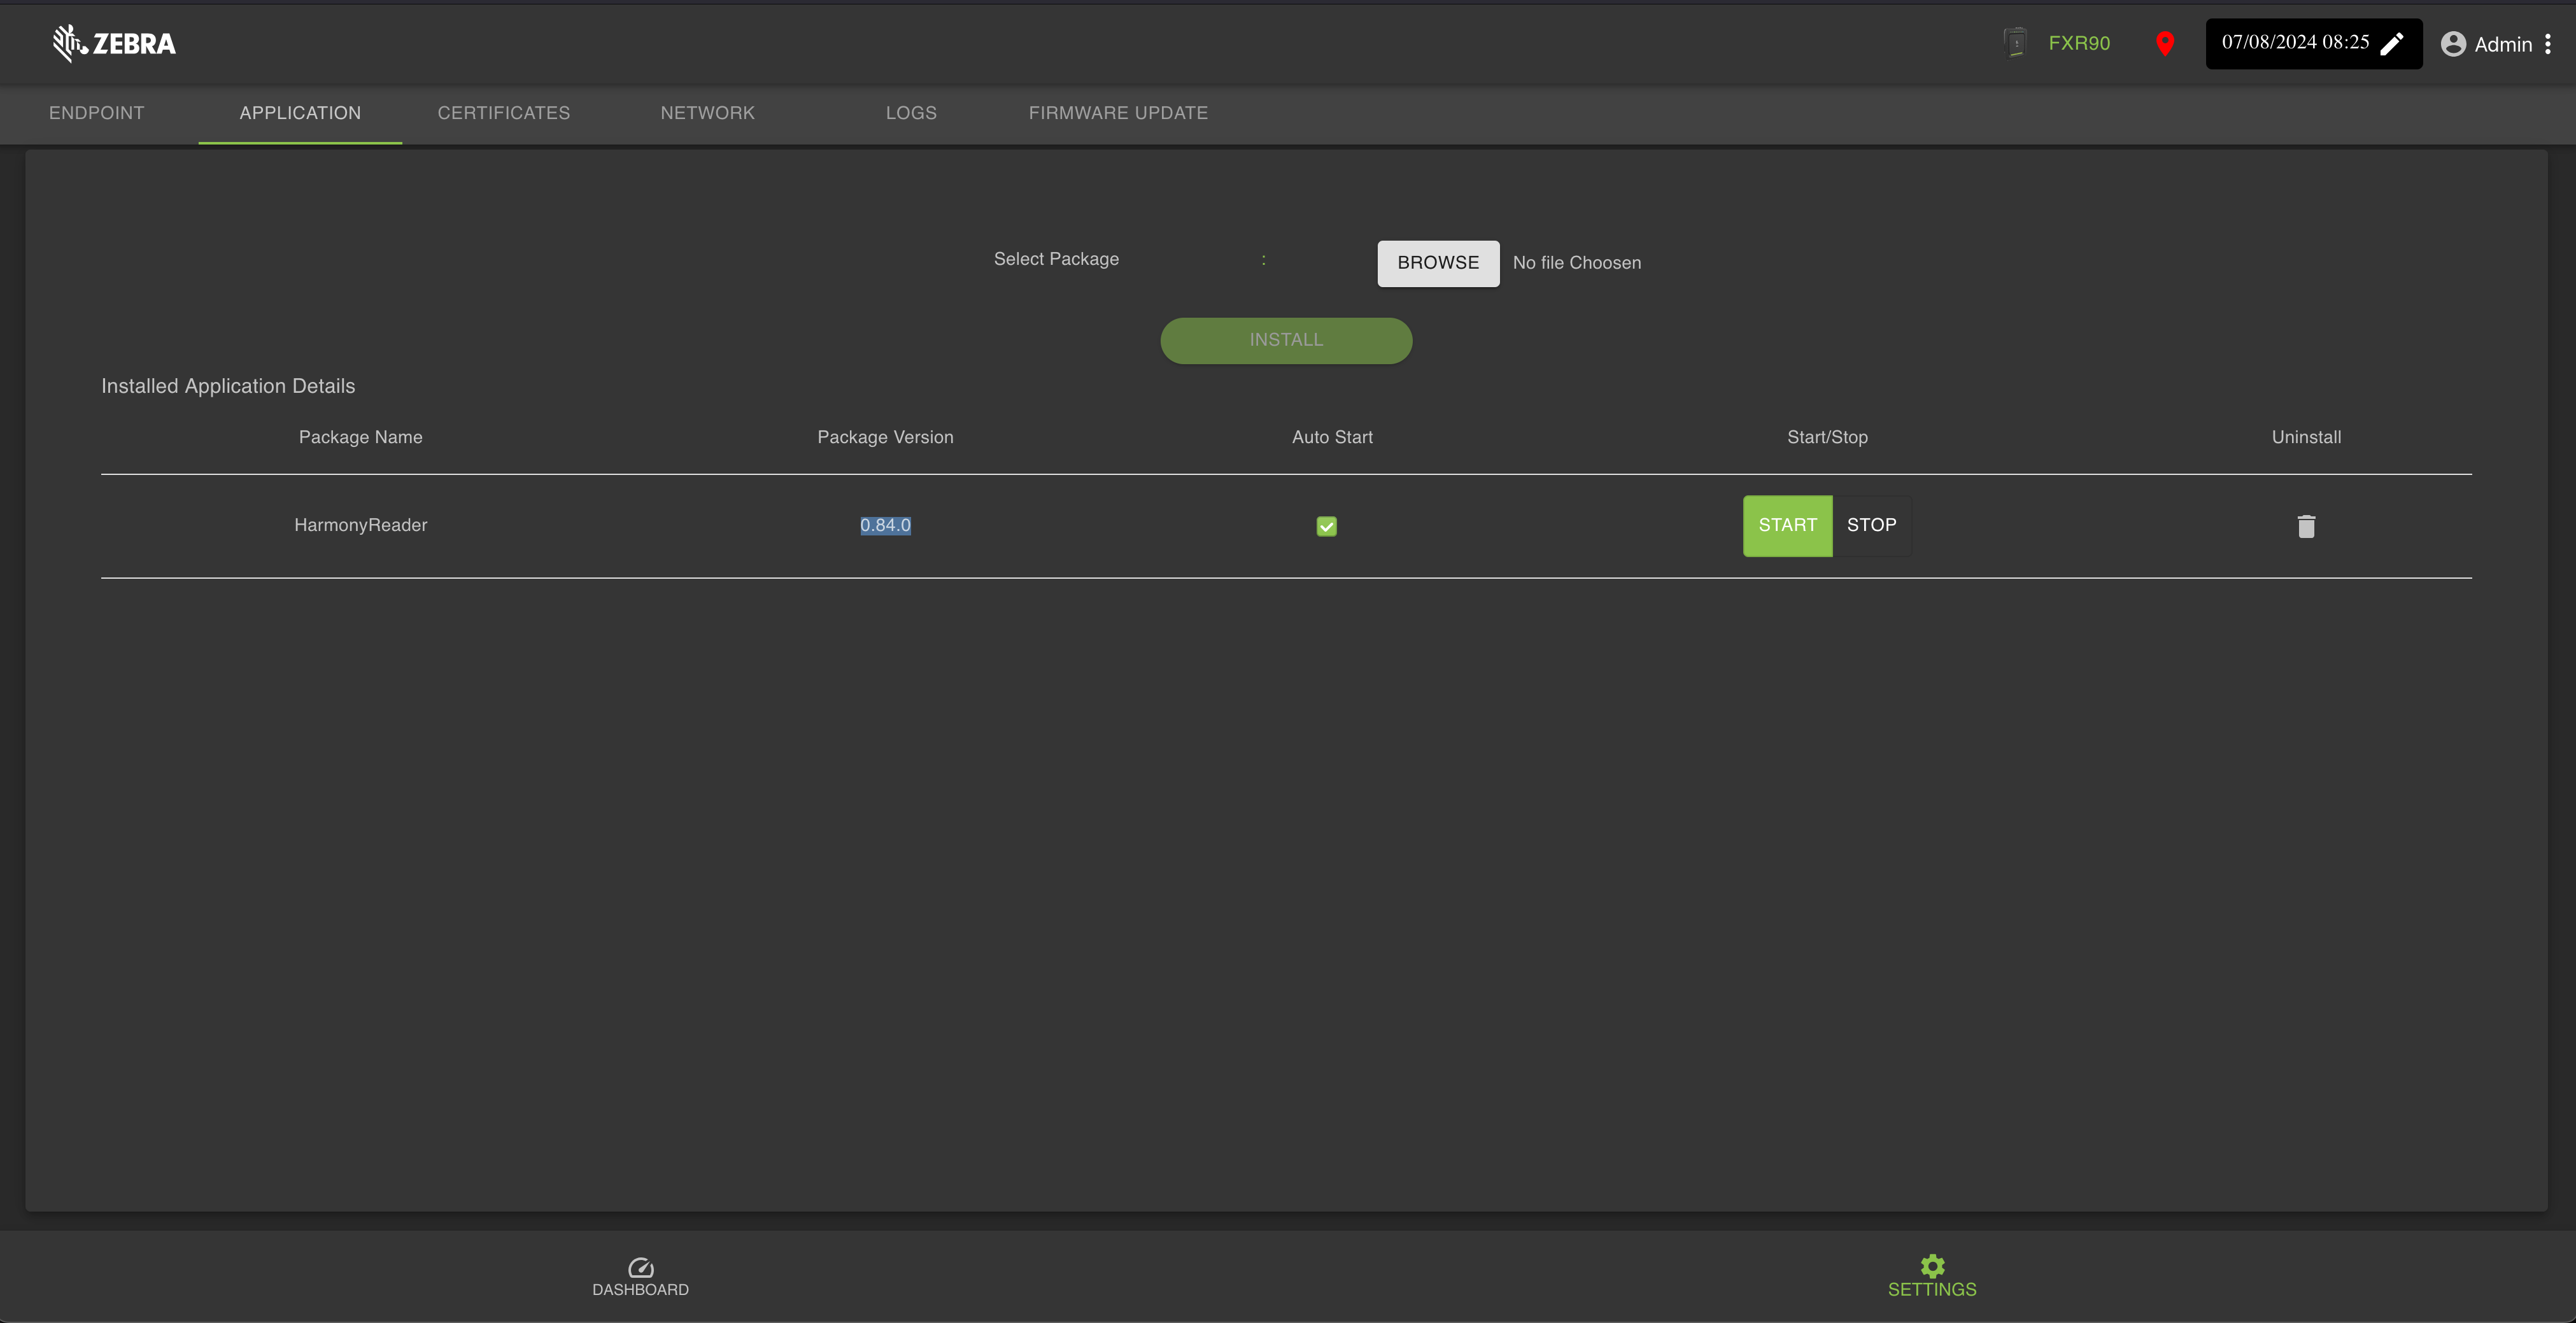
From here, navigate to the application tab:

Press the "Browse" button and upload the file that was downloaded from the reader agent link. After uploading, press the "Install" button to install the application. Make sure the press the "Start" button to start the app, in addition, check the Auto Start checkbox so the application starts when the reader is booted up:
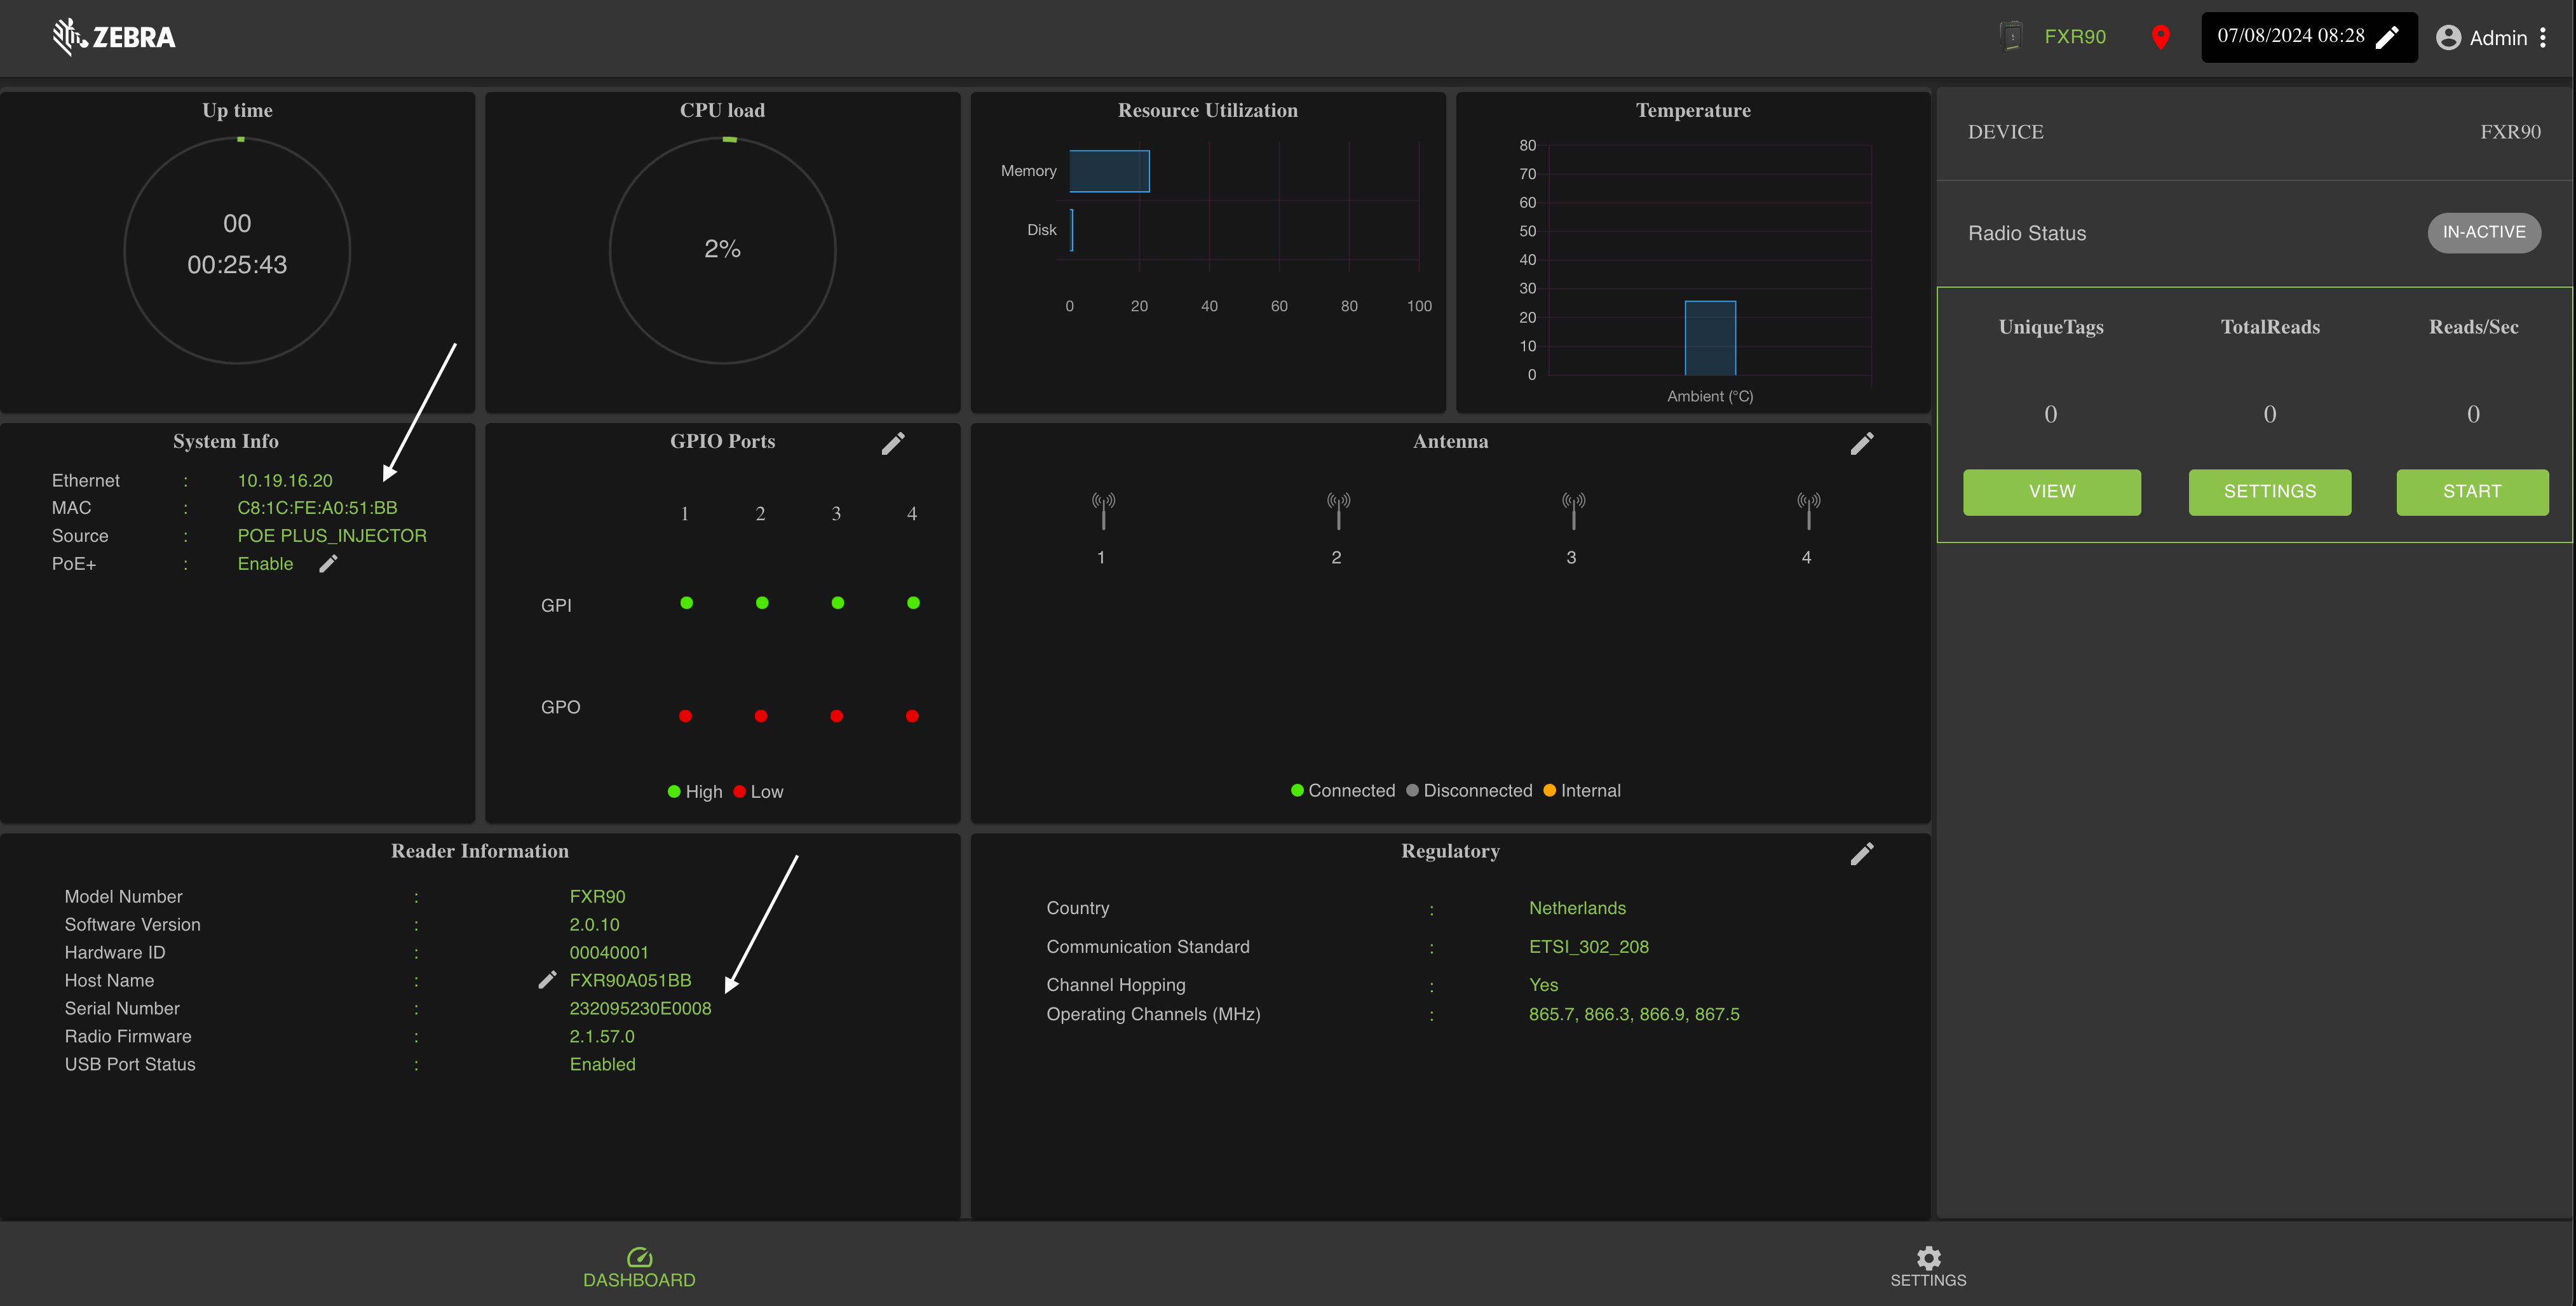
Note the Mac Address and serial number
To pair the newly setup reader to Harmony, note Mac Address and Serial Number of the device. These are located on the initial web interface screen:
Updated about 1 year ago